Links 1
Terms 1
Config Command 1
Repo Commands 1
Branch Commands 3
Stash Command 4
Flow 9
Links
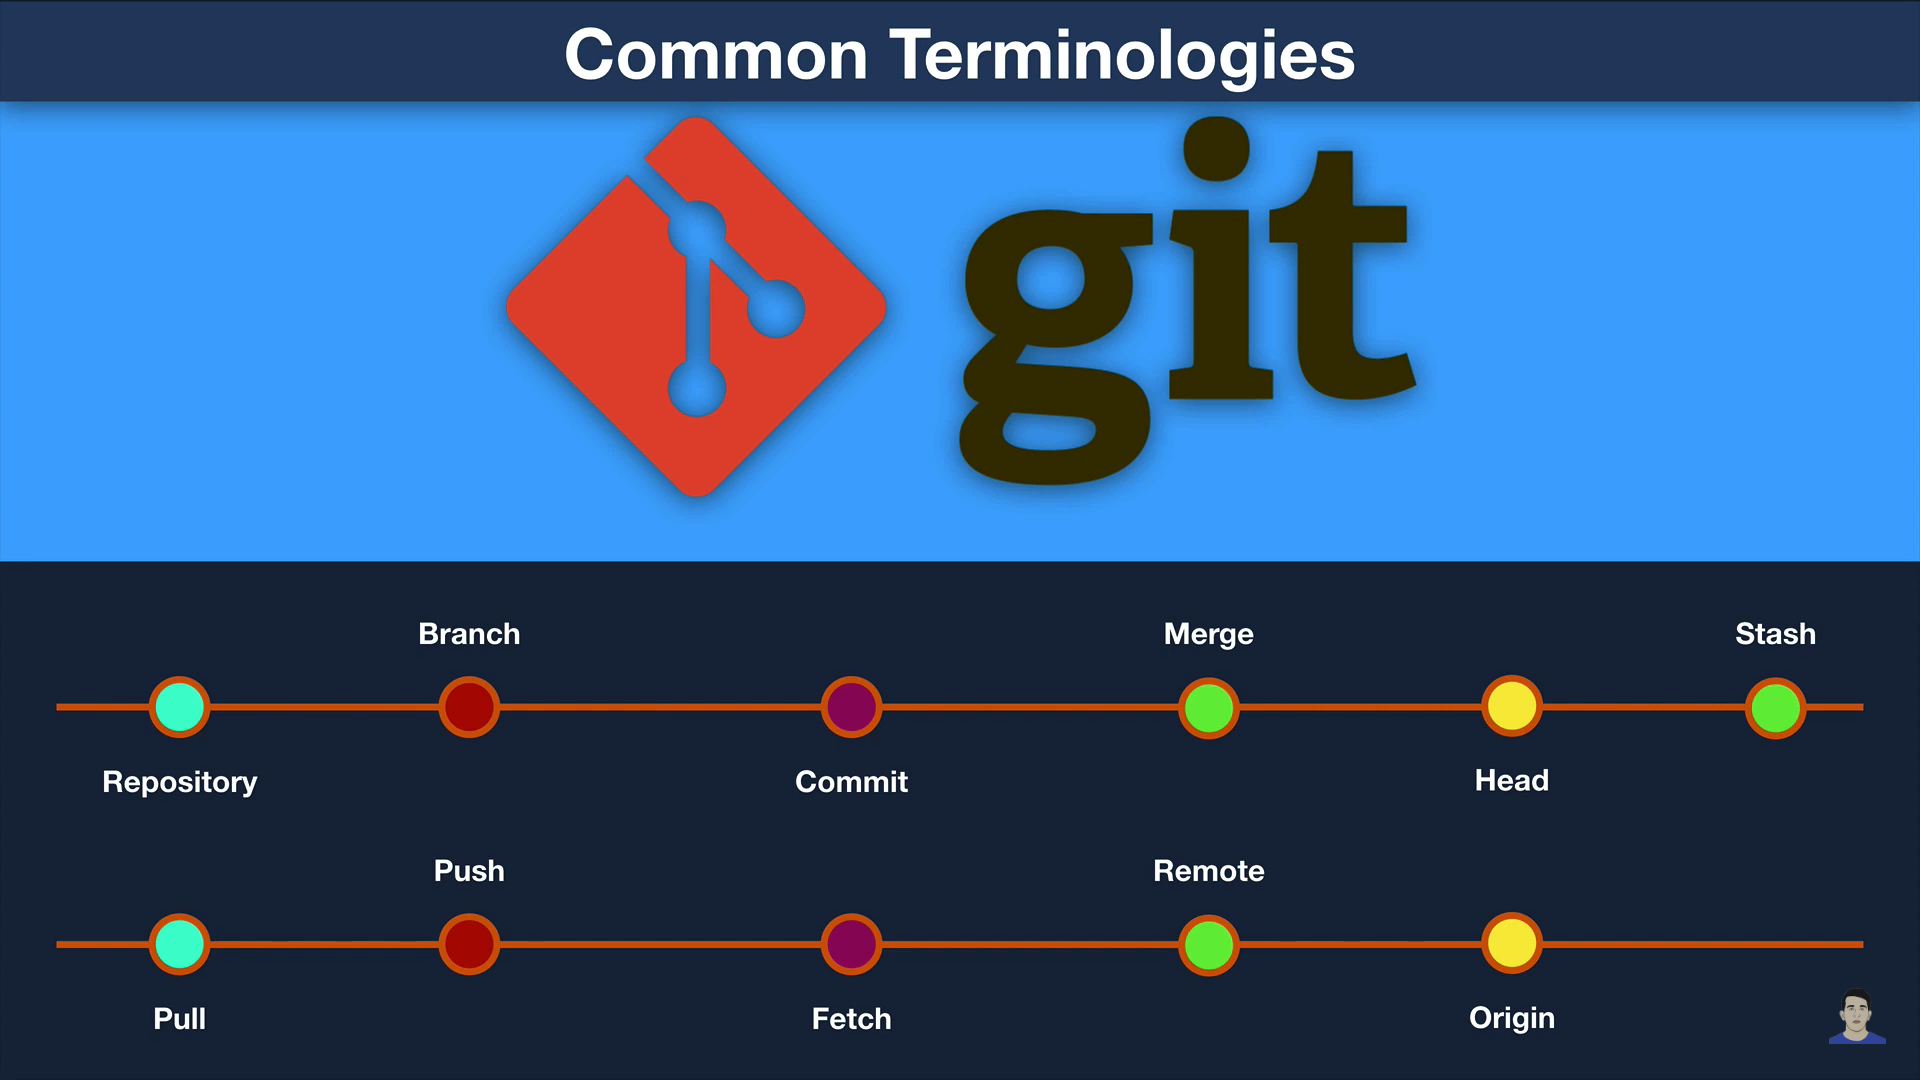
Terms
Repository: Project or the folder/place where your project is kept
Github: a website to host your repositories online
Clone: Bring a repository that is posted somewhere like it up into a folder on your local machine
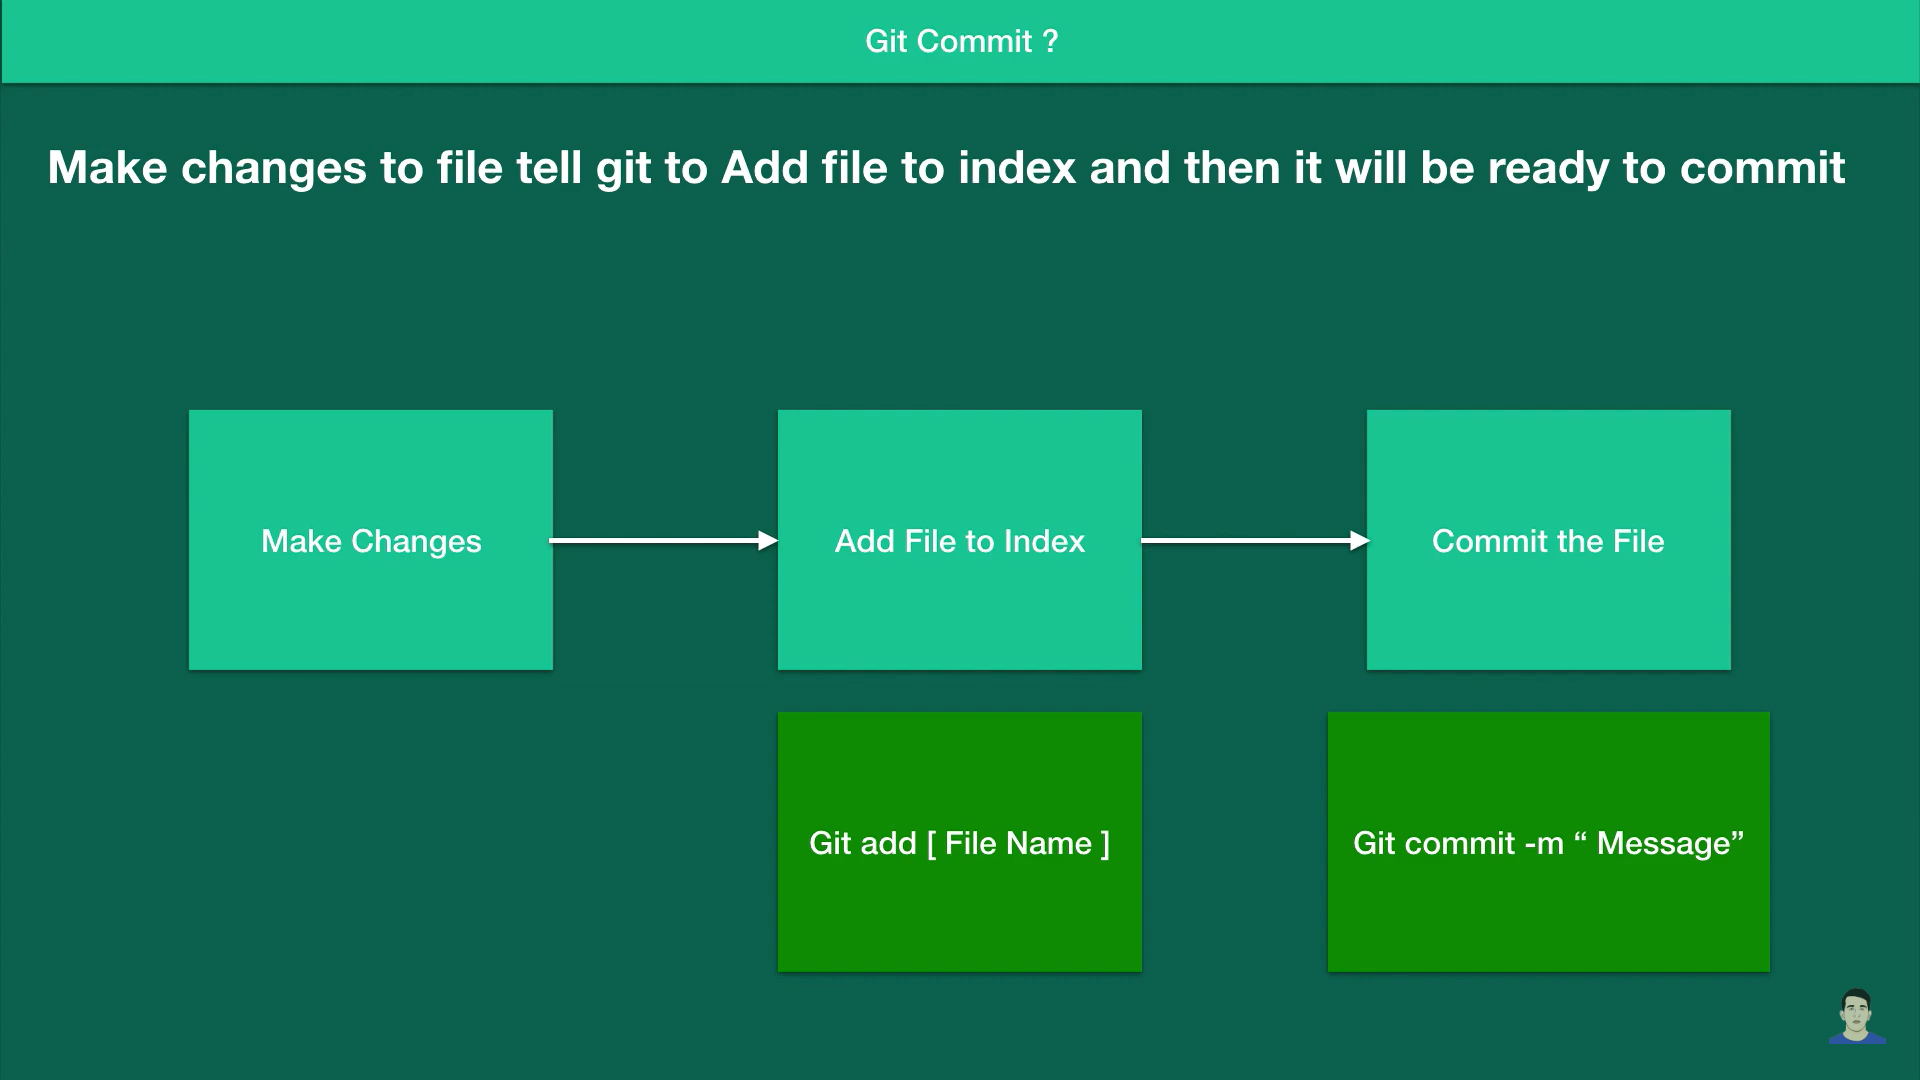
Add: check your files and changes and git
Commit: save your files in git
Push: upload git commits to a remote repository like Github
Pull: download changes from a remote repository to your local machine, opposite of push
Config Command
Commands | Description |
git config --global --edit | To see the git config file |
git config --global user.name “ENTER NAME” | To set git user name |
git config --global user.email “ENTER EMAIL” | To set git user email |
Repo Commands
Commands | Description |
git init | Initialize git in the project directory |
git status | Gives a list of files to be tracked |
git add . | All the file changes needs to be tracked |
git add index.html | Track the changes only in index.html file // track individual file |
git commit -m “MESSAGE” -m “DESCRIPTION MESSAGE”
git commit -am “MESSEGE” | Files ready to be committed -m = Add a message to your commit title -m = add a message for your commit description Store code locally // not live yet
-a = add files that are previously added will not work for adding a newly created file |
git branch -l git branch -a | Show a list of branches in your working directory |
git clone https://LINK | Cloning a repo |
git push
git push origin master | Pushing code to your remote repo where your project is hosted
When you push changes for the first time Origin = location of git repository Master = branch that we want to push to |
git ssh | Generating a new SSH key and adding it to the ssh-agent - GitHub Docs |
git init
git remote add origin HTTP_LINK
git push origin master
git push -u origin master | To initialize a git for a new repository - Use it without having repo first
- Create remote repo
Add origin of your 2nd repo
To push changes to the origin master
-u = set upstream // so you don’t have to write origin master everytime you need to push |
git pull | To pull changes from your branch you are currently in |
git merge master | Get latest from master in your branch |
git reset | - undo your add // When you want to reset your tracked changes(git add)
- When you git add . → but now you don’t want to add those changes anymore // undo add changes
|
git reset HEAD~1
git revert head~2 | Undo the commit // When you want to reset your last commit changes(git commit -m) - Changes will still be there
- But they are not saved in git or staged with git any longer
|
git reset --hard COMMIT_HASH | Remove all the changes not just be unstaged but completely removed |
git fetch
git pull | tells the local repository that there are changes available in the remote repository without bringing the changes into the local repository.
Pull will brings the copy of the remote directory changes into the local repository. |
git cherry-pick COMMIT_ID | Cherry pick commit - Let’s say you have a bug in master branch file and you want to only target that file and bring down that file to your local branch to fix issue
- In you’re local branch use this command to get that file and fix the bug
|
git rebase -i HEAD~{N} | Squash last N commits into a single commit |
Branch Commands
git branch | To see which branch you’re currently in |
git branch BRANCH_NAME git switch BRANCH_NAME = git checkout BRANCH_NAME | Create a new branch Switch to newly created branch |
git checkout NEW_BRANCH_NAME
git checkout -b NEW_BRANCH_NAME | Switch between branches -b = create a new branch from which branch you are in
It will create a new branch and let you in the new branch |
git diff BRANCH_NAME | Shows the file changes/difference between master and your working branch |
git branch -d BRANCH_NAME | Delete a branch - Use this command outside the branch you’re trying to delete
|
|
|
Stash Command
Git Tutorial: Using the Stash Command
git stash save “MESSAGE”
| Save changes in a temporarily place. You’re changes are temporarily gone Usecase - When you have changes you’re not ready to commit
- You need to switch branches
- You want to revert back temporarily to where you stared
- You don’t know what to do with your changes
|
git stash list | To list your stashes |
git stash apply STASH_ID | To bring back your stashed changes |
git stash pop | It gives our changes back and deletes the stash
Usecase: When you add changes on your master branch instead of your working branch. And you want to have all those changes in your working branch - Git stash save “M” // stash can carry over branch to branch
- Git checkout YOUR_BRANCH
- Git stash pop
- Git add, git commit
|
git stash clear | Remove all the stashes |
Agenda
Repository
Branch
Merge
Commit: is to track your changes. When you make changes and commit, it detects the changes you make, when you make another commit it tracks that commit too and when you want to know your 1st commit change you will get the details with the commit id
Collaborate remote repository
Github hosts remote repository
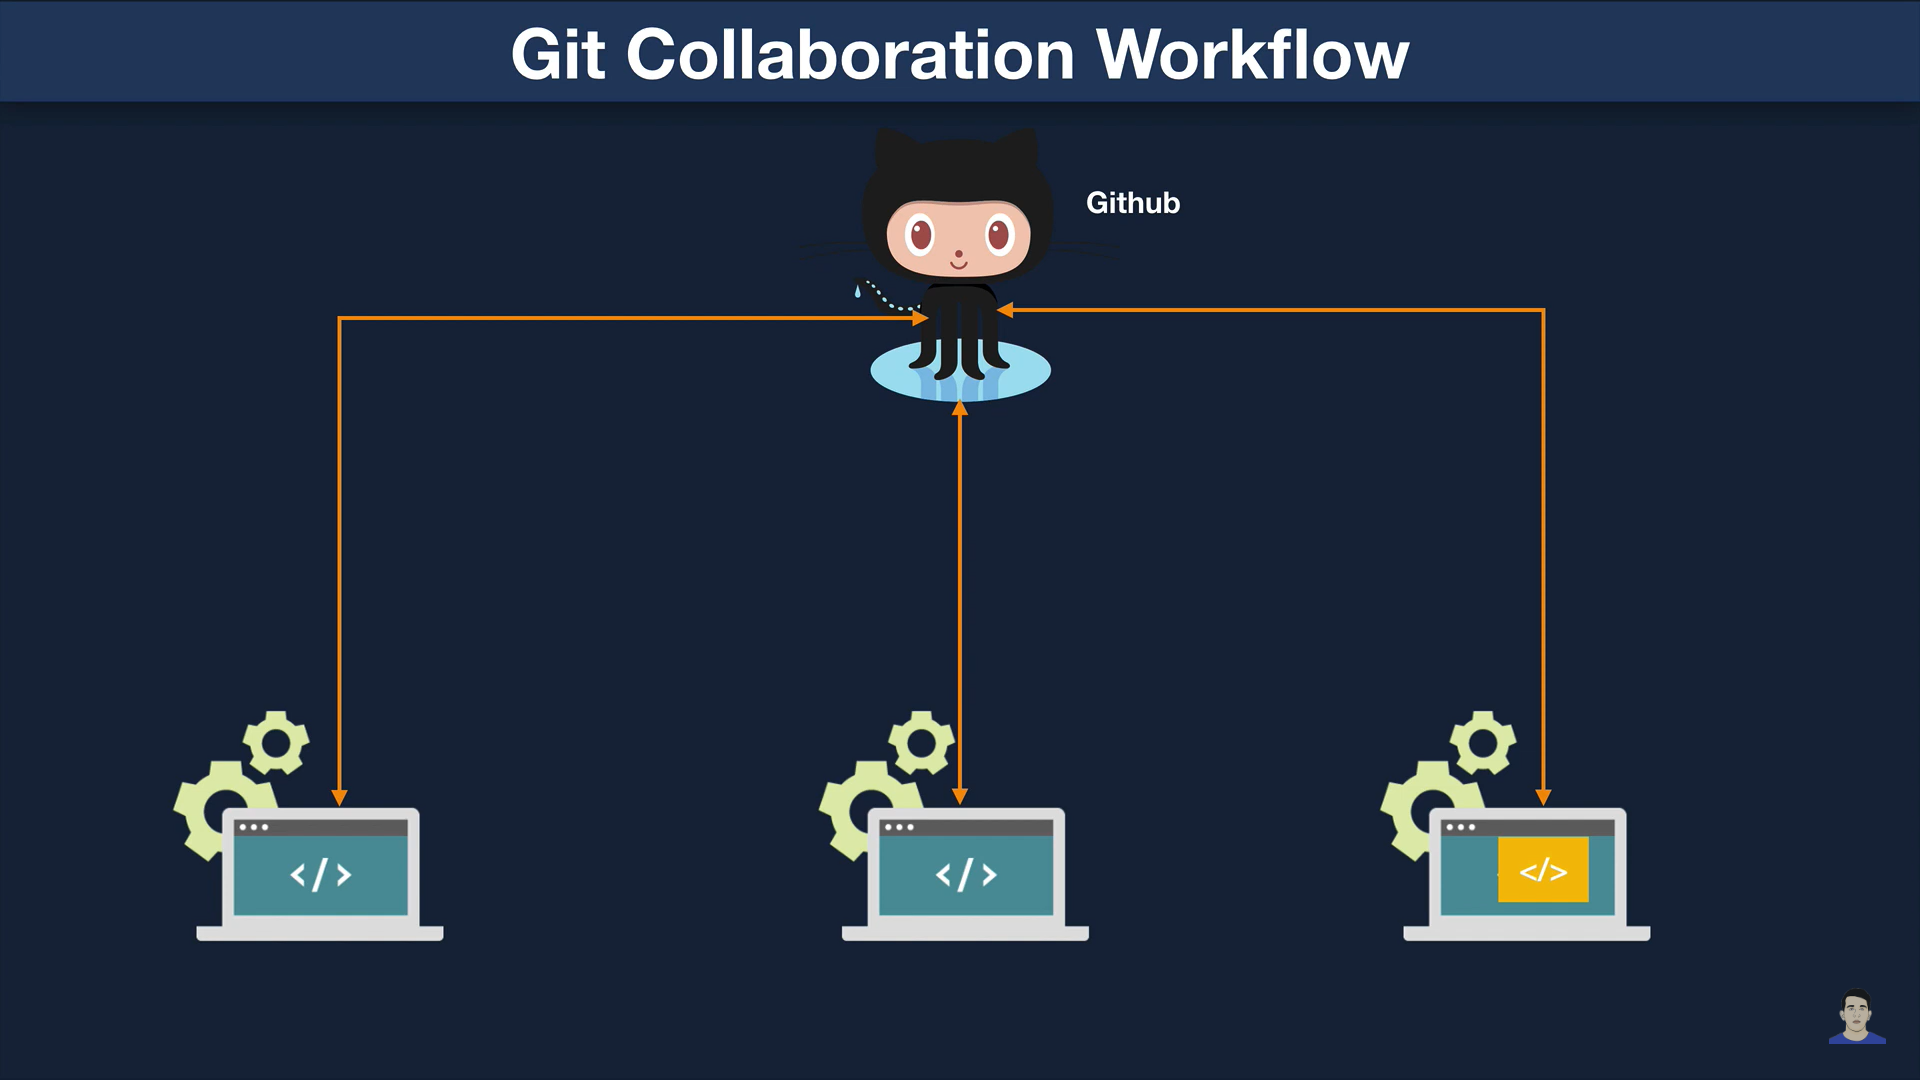
- When 3 dev working on the same project and there is one central(remote) repo on the GitHub.
- So 1st dev writing some code and push it to the GitHub and so does 2nd and 3rd.
- Now 2nd dev can pull 1st dev code files from the Github repo and make changes if necessary. So does the 3rd dev.
Commands
- Git init // to initialize local git repo
- we make folder in our local system where we going to put our files.
- So first we initialize the repo
- Git status // to check if there has been any commit to our local repo/find untracked files
- Git config --global user.name “Gautam” // to register you name email with your local GIT repo
- Git config --globle user.email “gautampambhar@gmail.com”
Now you have a folder and your application files in your folder. You have initialized git repo.
You need to add files to init repo.
- Git add -A //add all the file to init repo
If you change a file content and you directly commit to the repo it won’t work
You need to add file first and then commit it when you make any change
- Git commit -m “first commit” //snapshot stores into git repo
- Git commit -a -m “2nd commit” // it adds the files and commit it both
- Git log // you get all the details about all commit you make
- git log --format=fuller
- git log --oneline
- git log --oneline --graph // it addes * to left
Branch & log
- Git branch newbranch // add new branch
- Git branch // to see which branch are you on
- Git checkout newbranch // to go to whichever branch you want
- Git log // it only going to show commit or file in which branch you are in( suppose you have 2 branch, and currently you’re in master branch it only going to show you files and commit that are associated with master branch)
- Git branch --all // to see all the branch
- Git log --decorate --graph --all // it shows all the git files and commit associated with all the branch
- Git reset --hard // to make changes deleted and revert to the old version of the file
- Git diff // it tells what content you have removed and shows the new content that you have replaced with → to check the previous commit
Merge branch
Merging newbranch to the master branch
- Git diff master newbranch // see the difference between 2 branch
- Git merge newbranch // (when you are at master branch and you want to merge all the newbranch file into master = change you will ses is in master branch you will have all the file that is associated with new branch )
GIT Stashing
- Git stash
- Is to stash/store your changes in a placeholder // meaning you won’t be adding this to the git
- Useful when you are unsure about making file changes to your master branch(where you are working), and now you want to checkout from master branch to a different branch.
- You stash your changes inside the master branch and then checkout to a different branch without getting an commit error
working with remote
- git remote add origin “link-http”
In order to connect to SSH you have to generate public SSH key and add that key into your github account and then you can start making pushing changes
- Git clone link-http
- Git origin // will give you origin (what is origin = )
Flow
- Install Git: First, you'll need to ensure you have Git installed on your local machine. You can download it from Git's official site.
- Set up an Azure Repo: Go to Azure DevOps and log in with your account. Create a new project, then navigate to ‘Repos’. Create a new repository.
- Initialize a Git repository on your local machine:
- mkdir my-git-project # Creates a new folder
- cd my-git-project # Navigates into the newly created folder
- git init # This will create a new Git repository in your my-git-project folder.
- Create a new file and make some changes:
- echo "Hello World" >> README.md # Creates a new file named README.md with the content "Hello World"
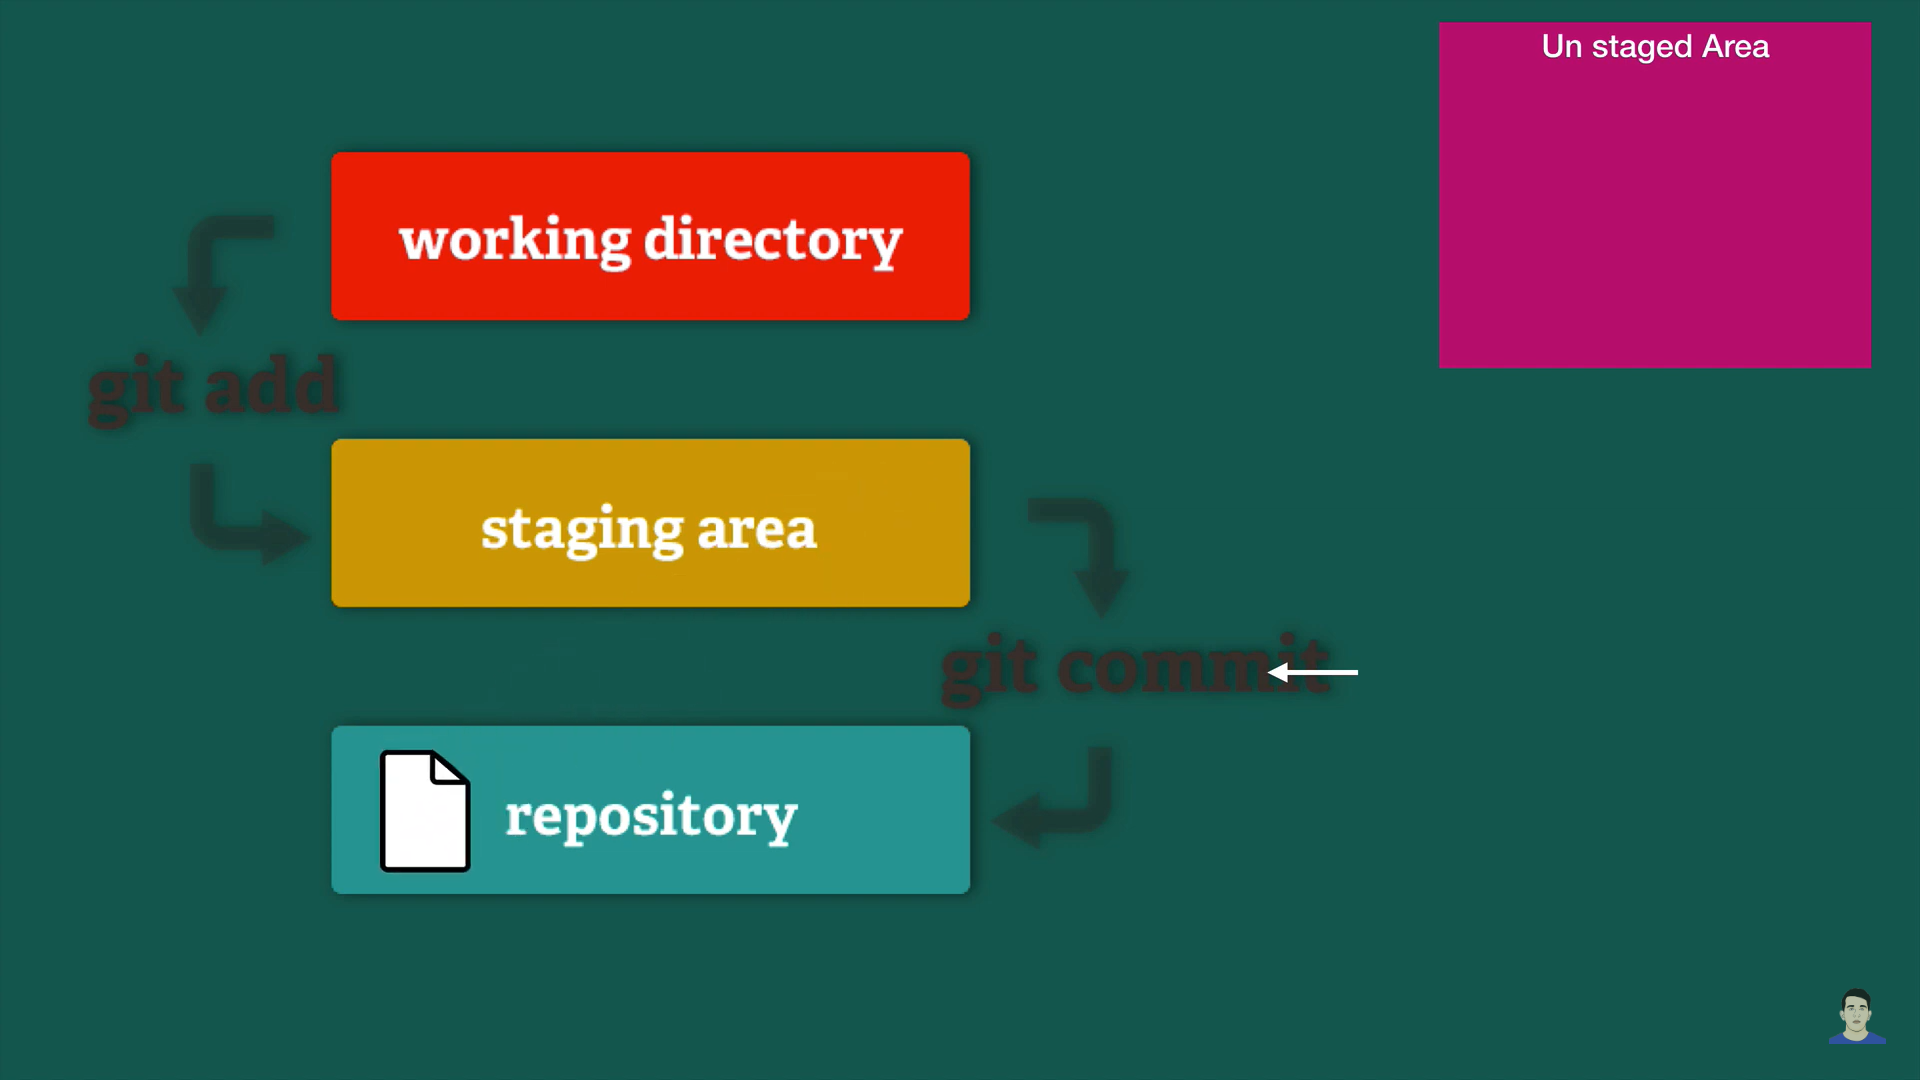
- Stage and commit your changes:
- git add . # Adds all changes to the staging area
- git commit -m "Initial commit" # Commits changes to the repository with a message
- Link your local repository to your Azure Repo:
- In Azure DevOps, within your repo, select 'Clone' at the top-right corner. A window should pop up with the URL you need to copy.
- You can link your local repository to your Azure Repo with the following command (replace <URL> with the URL you just copied):
- git remote add origin <URL> # Set a new remote repository // After running this command, your local repository has a reference to your remote repository called "origin".
- This "origin" is a naming convention in Git that refers to the default remote repository your local repository is connected to. Once this is set up, pushing your changes to the remote repository is as simple as running git push origin master
- Push commits to the remote repo on Azure:
- git push -u origin master // This means "push the commits in the local repository's master branch to the remote repository known as origin".
Error solved: https://stackoverflow.com/questions/24114676/git-error-failed-to-push-some-refs-to
git reset --mixed origin/master
git add .
git commit -m "This is a new commit for what I originally planned to be amended"
git push origin master